Unlock the Secret to Silky Sweet Red Bean Paste: A Fuss-Free Homemade Recipe
Unlock the Secret to Silky Sweet Red Bean Paste: A Fuss-Free Homemade Recipe
Ever wondered how those perfectly smooth, subtly sweet red bean pastes in your favorite mochi or pastries are made? Tired of store-bought versions that are just too sugary?
Hey everyone! Today, I’m diving into one of my absolute favorite ingredients for Asian desserts: sweet red bean paste, or as we call it in Korea, pat anggeum (팥앙금). If you’ve ever had a delicious red bean bun, a perfectly chewy mochi, or a refreshing bowl of patbingsu (shaved ice with red beans), then you know the magic I'm talking about. For years, I just bought it from the store, but honestly, it was never quite right—too sweet, too gritty, or just lacking that homemade touch. That's why I decided to master my own version, and I'm so excited to share my fuss-free, no-sieving recipe with you!
Table of Contents
The Allure of Pat Anggeum: More Than Just a Sweet Treat
For many of us, sweet red bean paste isn't just an ingredient; it’s a taste of nostalgia. I vividly remember my grandmother’s kitchen, the scent of simmering adzuki beans filling the air, especially around traditional holidays. It was always a laborious process, but the reward? Pure bliss. That rich, earthy sweetness has a way of comforting the soul, right? It's been a staple across Asia for centuries, finding its way into everything from delicate Japanese wagashi to hearty Chinese tangyuan, and of course, our beloved Korean rice cakes and steamed buns. It’s truly versatile!
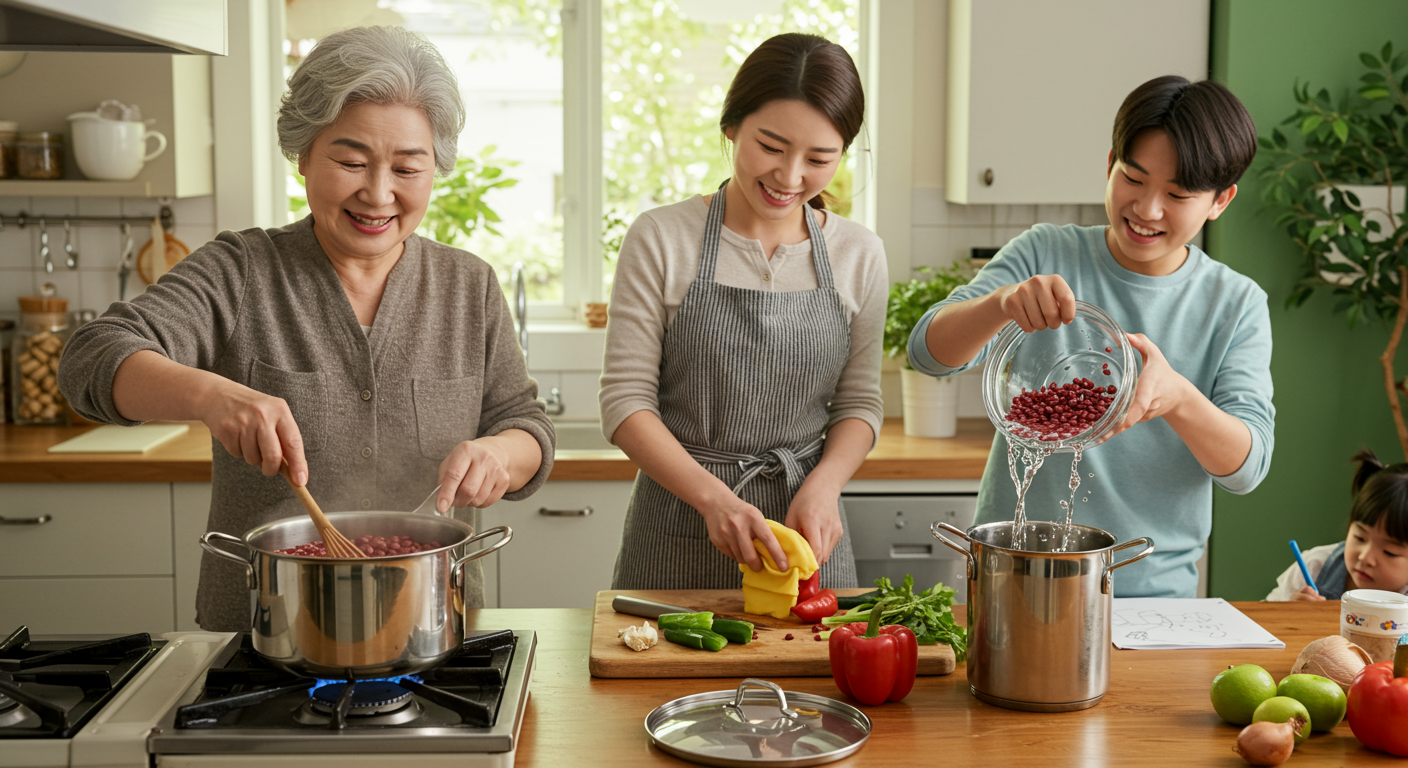 Description: "A close-up, top-down shot of a senior Korean woman's hands gently stirring a pot of red beans on a vintage stovetop, steam rising. The kitchen is cozy with warm, natural light. Real photo style."
Why Homemade Red Bean Paste? The Difference is Real
Honestly, when I started making my own red bean paste, it was a game-changer. Store-bought versions, while convenient, often contain a ridiculous amount of sugar and sometimes even artificial flavors. They just don’t hit the same, you know? With homemade, you get to control the sweetness, adjust the texture to your liking, and ensure it's made with love and only the best ingredients. Plus, there’s an incredible satisfaction in crafting something so delicious from scratch. My favorite part about this recipe? No sieving! That’s right, we’re blending the beans into a smooth, velvety paste, saving you so much time and effort without sacrificing that melt-in-your-mouth texture.
Ingredients You'll Need for Your Silky Sweet Red Bean Paste
Alright, let's gather our essentials. The beauty of this recipe is its simplicity. You probably have most of these on hand already! For the best results, always opt for quality ingredients.
- 1 cup (200g) Dried Adzuki Beans: These are the small, reddish-brown beans typically used for pat anggeum. Make sure they’re fresh and free of debris.
- 1/2 cup (100g) Granulated Sugar: You can adjust this amount to your taste. I find half a cup gives a pleasant, balanced sweetness.
- Pinch of Salt: Just a tiny bit really brings out the sweetness and deepens the flavor. Don't skip this!
- Water: For soaking and cooking. We’ll need quite a bit, so keep it handy.
Just a quick note on the beans themselves! While adzuki beans are standard, different types can yield slightly different results. Here's a little comparison:
| Red Bean Type | Flavor Profile | Common Uses |
|---|---|---|
| Adzuki Beans (Small Red Beans) | Earthy, slightly nutty, naturally sweet | Traditional Korean/Japanese/Chinese pastes, desserts |
| Kidney Beans (Larger Red Beans) | Milder, creamier texture when cooked | Savory dishes, some Latin American desserts (less common for traditional pat anggeum) |
Step-by-Step Guide: Making Your Fuss-Free Red Bean Paste
Ready to get cooking? This process is surprisingly simple, especially since we're skipping that tedious sieving step. Just follow along, and you’ll have delicious homemade sweet red bean paste in no time!
- 1. Soak the Beans: First things first, rinse your adzuki beans under cold water. Then, place them in a large bowl and cover with plenty of fresh water (about 3-4 times the volume of the beans). Let them soak overnight, or for at least 8 hours. This step significantly reduces cooking time.
- 2. First Boil & Drain: Drain the soaked beans and transfer them to a medium pot. Add enough fresh water to cover the beans by about an inch. Bring to a rolling boil over high heat, then let it boil for about 5 minutes. You'll notice some foam and impurities rising to the surface. This "first boil" helps remove the bitterness and any gas-causing compounds. Drain the beans again, discarding the water.
- 3. Cook Until Tender: Return the drained beans to the pot. Add 4 cups of fresh water (or enough to cover the beans by at least 2 inches). Bring to a boil, then reduce the heat to low, cover, and simmer for 1 to 1.5 hours. You want the beans to be incredibly tender—soft enough to easily mash between your fingers. Check them periodically and add more hot water if needed to keep them submerged.
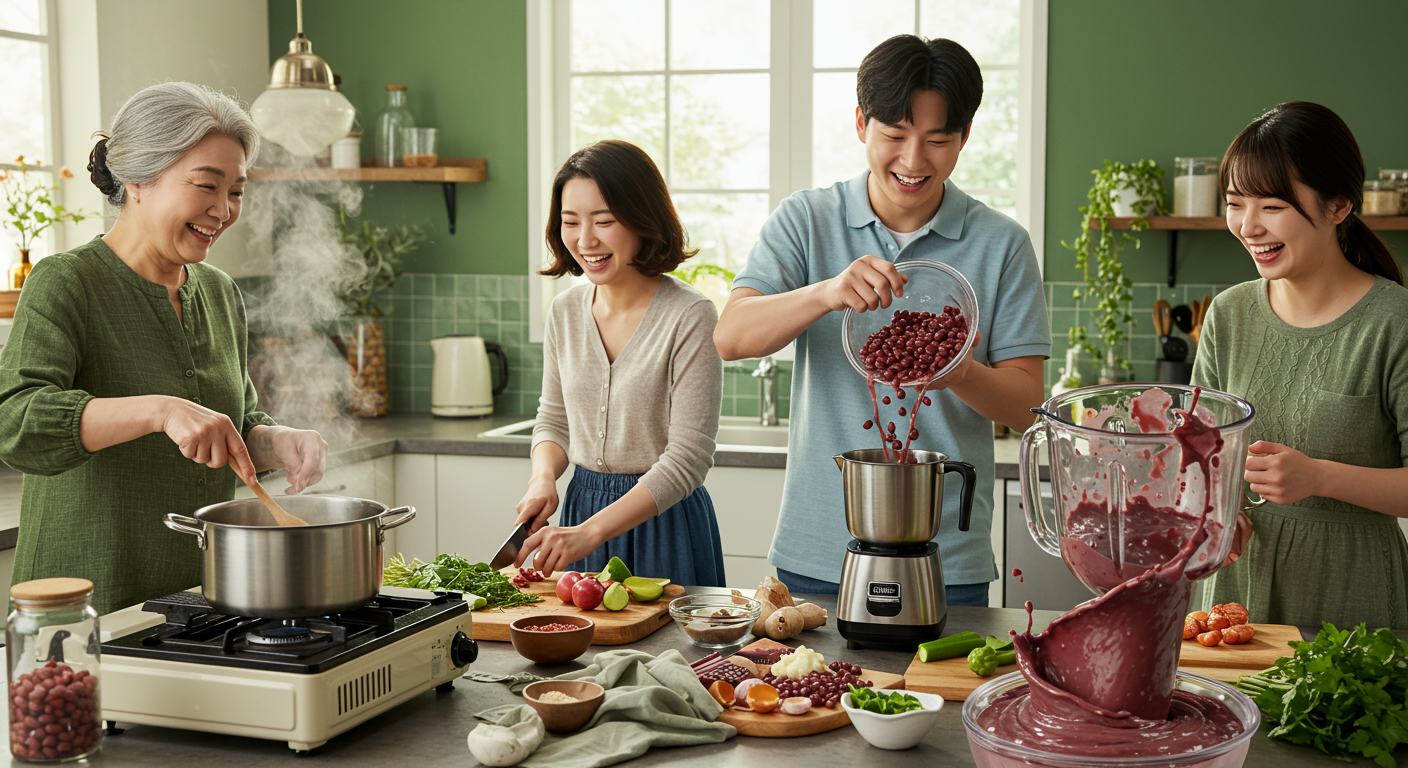 Description: "A young person enthusiastically pouring soaked adzuki beans into a shiny stainless steel pot, water splashing lightly. The kitchen is modern and bright, with a vibrant green accent wall. Lifestyle photography style."
- 4. Blend to Perfection (The Fuss-Free Part!): Once the beans are super soft, drain them again, reserving about 1/2 cup of the cooking liquid. Transfer the cooked beans to a high-speed blender or food processor. Add the reserved cooking liquid, sugar, and salt. Blend until completely smooth and creamy. If it’s too thick, add a little more water, a tablespoon at a time, until you reach your desired consistency. This is where the magic happens—no more tedious pushing through a sieve!
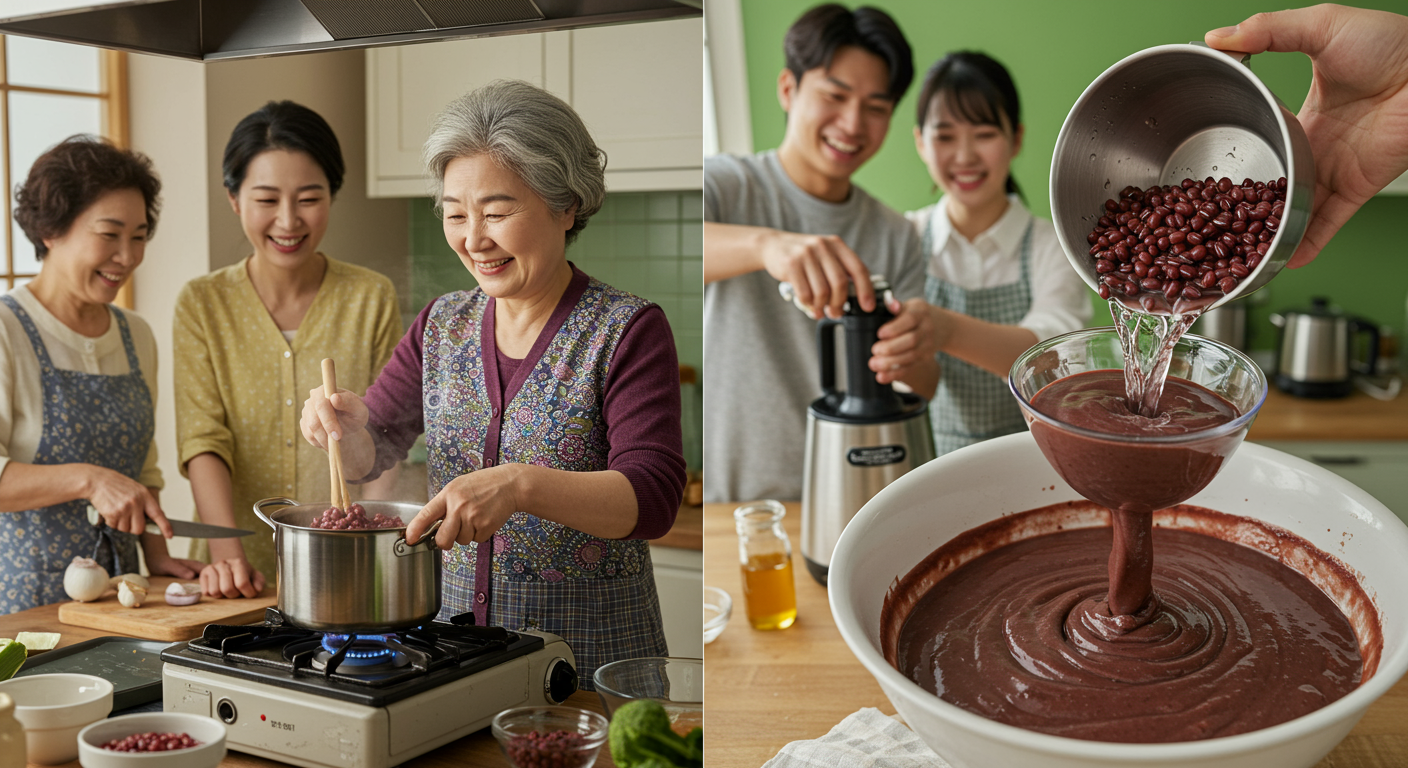 Description: "A close-up shot of a high-speed blender actively pureeing cooked red beans with a hint of water, creating a smooth, dark red vortex. The texture is already looking velvety. Dynamic, almost abstract photo style."
 - 5. Reduce and Thicken: Pour the blended paste back into the pot. Cook over medium-low heat, stirring constantly, for about 10-15 minutes, or until it thickens to your desired consistency. Be careful, as it can splatter! It will thicken further as it cools. Taste and adjust sweetness if needed.
- 6. Cool and Store: Transfer the finished sweet red bean paste to a clean, air-tight container. Let it cool completely at room temperature before refrigerating. It will be good in the fridge for up to a week. For longer storage, you can freeze it in smaller portions for up to 3 months!
Troubleshooting Common Issues & Tips for Perfection
Even with a fuss-free recipe, sometimes things don't go exactly as planned. Don't worry, I've got your back! Here are some common issues and how to fix them:
For a richer, slightly darker paste, you can add a tablespoon of honey or brown sugar along with the granulated sugar. It adds another layer of flavor that I absolutely adore!
Creative Ways to Enjoy Your Homemade Sweet Red Bean Paste
Now that you have this glorious, silky smooth sweet red bean paste, what do you do with it? Oh, the possibilities are endless! Here are some of my go-to ways to enjoy it:
- Red Bean Buns (Danpatppang): The classic! Fill soft, fluffy bread dough with your homemade paste for an irresistible treat.
- Mochi & Rice Cakes: Wrap it in sticky rice dough or use it as a filling for various types of tteok (Korean rice cakes).
- Patbingsu & Ice Cream Topping: A spoonful (or three!) on shaved ice or vanilla ice cream is pure heaven, especially on a hot day.
- Toast & Pancakes: Spread it on warm toast or use it as a filling for pancakes or crepes for a delightful breakfast.
Whether you’re a seasoned baker or just dipping your toes into Asian desserts, I genuinely believe this recipe will become a cherished one. The taste, the texture, and the joy of making it yourself are truly unmatched. So go ahead, give it a try!
Absolutely! While granulated sugar provides a clean sweetness, you can experiment with brown sugar for a deeper, more caramel-like flavor. Just be aware that brown sugar might give the paste a slightly darker color and a different nuanced taste. You can even use a mix of both!
The key to ultimate smoothness, especially without sieving, is a good quality high-speed blender or food processor. Also, ensuring your beans are *very* tender before blending is crucial. The longer and softer they cook, the easier they will become perfectly silky. Don't rush that cooking time!
Once completely cooled, transfer your sweet red bean paste to an airtight container. It will keep fresh in the refrigerator for up to one week. For longer storage, you can portion it out into smaller freezer-safe bags or containers and freeze it for up to 3 months. Thaw in the refrigerator overnight before use.


Comments
Post a Comment